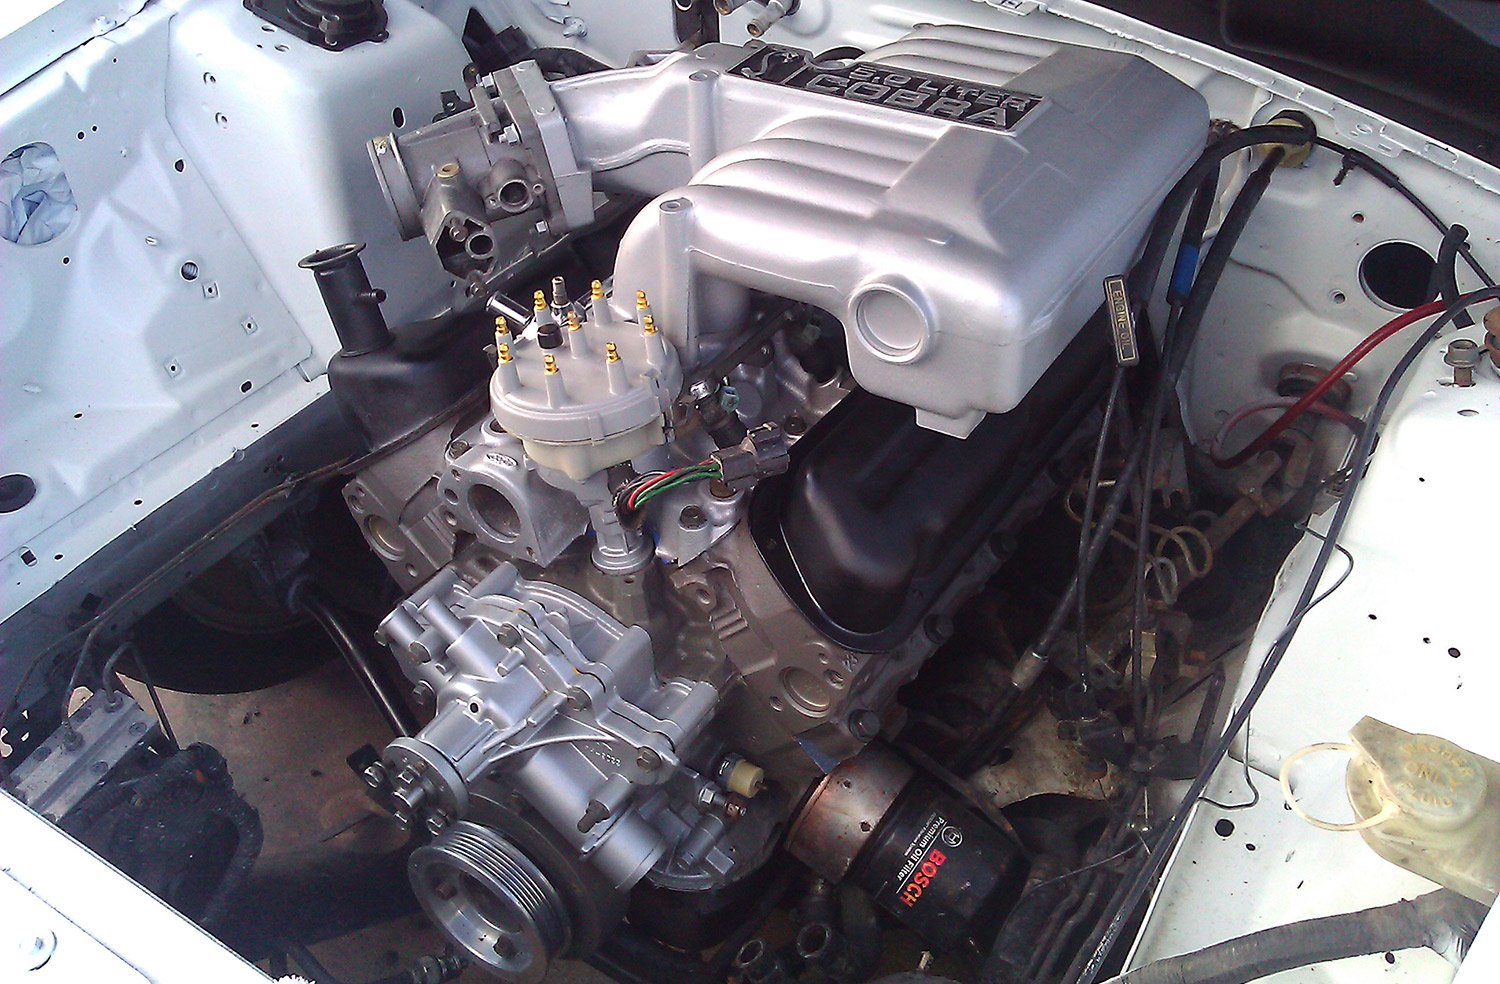
DIY Engine Bay Resto : 1994 Mustang Cobra
It doesn’t take a lot of money to make your engine bay look like a million bucks.
What’s the first thing you picture when thinking of a beautiful muscle car? Is it blinding chrome on 19” deep-dish wheels? How about a mirror like finish after a fresh wax? If you’re like us – it’s a show-worthy, detailed engine bay. What’s that? Your engine bay is starting to look a little run down – like a young Hollywood starlet after too many visits to the rehab clinic? It’s cheaper than you think to bring that showroom look back to your engine.
We didn’t say it would be easy, but it doesn’t have to be expensive.
Our latest rescue was retrieved from its 3rd owner. The car is a (mostly) stock 1994 Cobra, white with black cloth interior. It’s a typical high mileage car owned by drivers that cared more about what the outside looked like than the inside. The interior is worn (more on that in the future) and the engine bay looked like it had been subject to grease and vomit – baked at 500˚ and left to patina for 170,000 miles. Seriously, at some point clear paint had been sprayed throughout the entire engine bay. Fast-forward 17 years, and all of that clear had become brown. And it was everywhere.
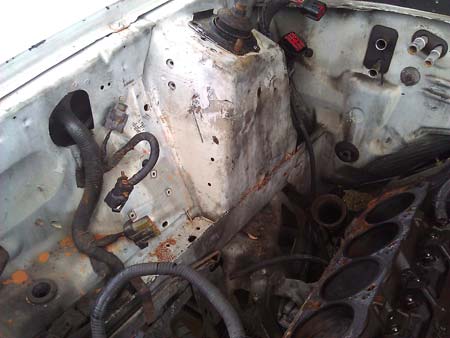
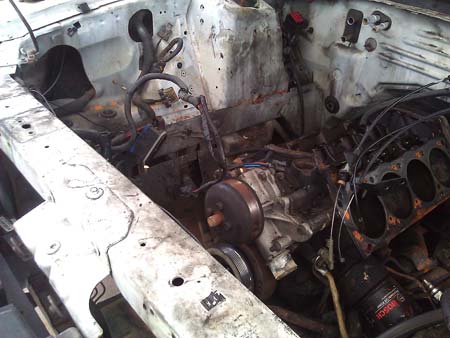
We had our work cut out for us.
Did we mention this stuff takes time? If you’re playing around with your daily driver – this project is probably going to have to wait until you’ve got some vacation days saved up. If you’re a typical nights/weekend hobbyist you’re going to want to plan for two full weeks. The work is not difficult, but like anything else – a quality job comes from attention to detail, and there is a lot of detail under the hood.
We took this opportunity to send the heads to the shop for a refresh, and we wanted to replace all of the typical stuff that wears out over 170,000 miles – so we worked at a slower pace while waiting for gaskets, sensors and machined parts to arrive.
The Breakdown
Disassembly: There are a lot of damn parts in these cars, and you’re going to want to remove just about every one of them. Here’s a dirty little secret: If you stay organized while taking things apart – you’ll pull out less hair putting things back together. You’re going to be tempted to grab a big container and just dump everything in there. Don’t. Grab some small baggies (preferably with zip closures) and label each sub assembly. As you’re refinishing fasteners and hardware – keep things organized. Otherwise you’ll end up with a big pile of stuff that doesn’t seem to fit anywhere come assembly time.
Take pictures. Take a LOT of pictures. Sure, we all know these cars like the back of our hands – we can put them back together with our eyes closed. You’ll be surprised how our minds can remember things a little bit ‘different’ after a couple of weeks of staring at an engine bay that’s been stripped clean. Digital cameras are a great little helper for remembering how vacuum hoses, sensors, and wiring harnesses are routed.
Penetrating oil is your friend, use it. The first thing you’ll notice about older cars – things break. Fasteners get rusty and corroded, and plastic retaining clips lose their elasticity. Taking all of these connective components apart requires patience, determination and a little bit of care. Be prepared to replace some vacuum hoses and other bits that will end up sacrificing themselves during the restoration.

Cleaning and Prep: Almost all of the finishing techniques require significant cleaning for best results. Years of grease, dirt and neglect can be pretty stubborn. In no particular order, you’ll get great results using a combination of degreasers (petroleum based – and your typical gallon jug variety) brake cleaner, lacquer thinner , and even Phosphoric acid. Arm yourself with a few different size and shape scrub brushes, some Brillo pads and one or two wire brushes.
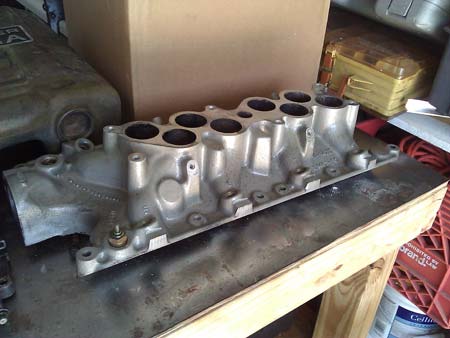
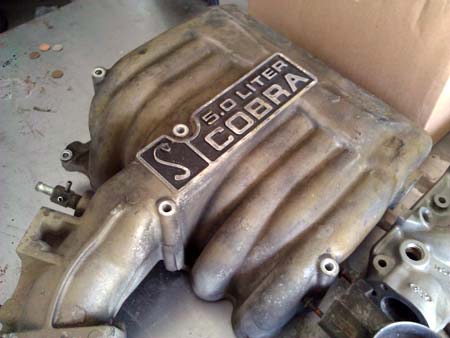
On some of the larger pieces it made sense to break out the media blaster. Even if you don’t have a blasting cabinet – it’s pretty simple to set up an outdoor blasting area to strip and clean bigger pieces like intakes and accessory brackets. There is nothing sweeter than bringing back the luster of original cast aluminum during a Resto – stripping away years of wear in the process. We got our hands on a very inexpensive portable blaster, and $30 worth of 80 grit media – enough to clean up the upper/lower intake and the accessory brackets. (Unfortunately our Cobra upper intake was deeply stained, and we eventually had to use a spray finish on it after cleaning and prep.)
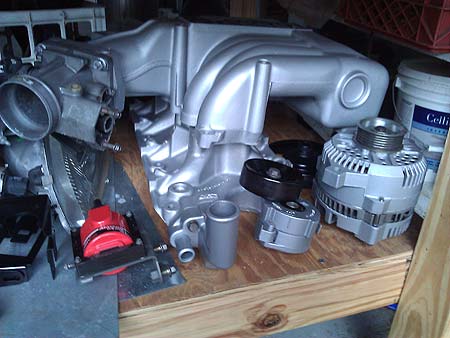
Refinishing: There are a lot of options for finishes. Our favorite – especially for cast aluminum – is to sandblast down to bare metal, and apply a few coats of satin clear. The result is a glow that seems fresh off the assembly line. The clear paint is also resistant to future grease and grime making it easier to keep things clean. But, sometimes there isn’t enough blasting media in the world that can make an old part look new again – that’s when we grab the paint.
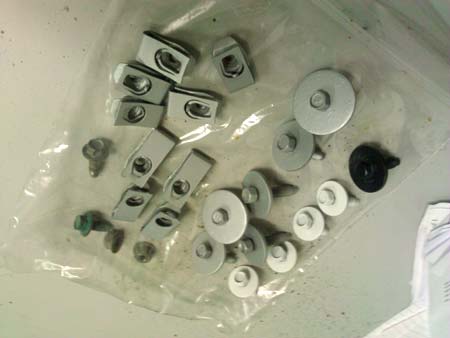
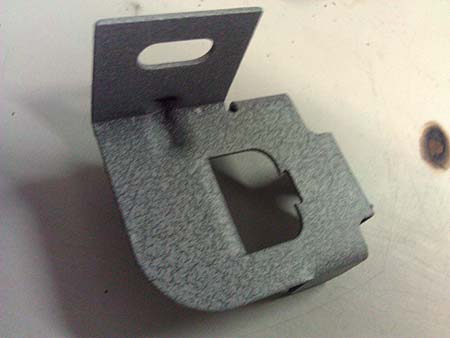
Spray paints have come a long way. Krylon, Rust-Oleum, and Dupli-Color each offer high-temperature, chemical resistant paints in natural metal colors. We’ve had the best luck with the “Cast” colors from Dupli-Color and Rust-Oleum. The finishes look natural and clean without appearing too glossy. For this application we mixed and matched Cast Aluminum, Cast Iron, and Ford Gray from each manufacturer. You don’t want to paint everything in a single color – that results in something that looks too cookie cutter. Wherever we had two components side-by-side we tried to use similar colors from different manufacturers. It results in a more authentic appearance – after all, each piece is cast from slightly different metal, there should be a variance in appearance.
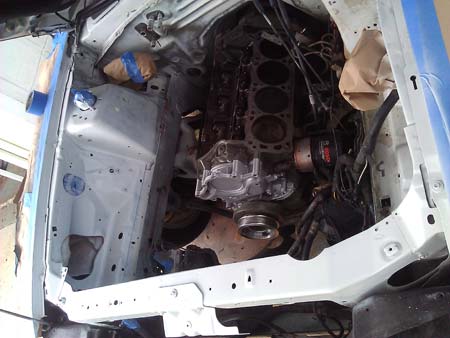
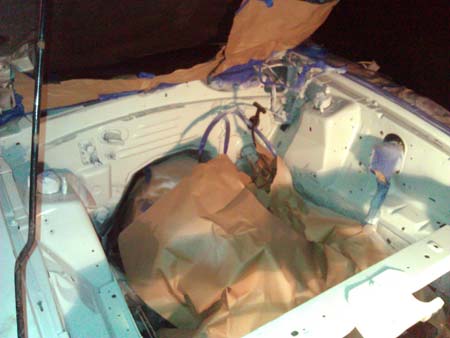
Painting the engine bay: Even if you decide to clean your engine components instead of refinishing them – the biggest impact you’ll get is repainting the engine bay itself. And it’s not too difficult to get a great looking finish. From the factory, the engine bay is sprayed with color – but not clear coat. This makes it much easier to lay in several coats of matching spray paint available from part stores. You may have a difficult time finding Bittersweet Orange from Dupli-Color – but most of the modern colors are pretty easy to match. But, before we can spray new paint, we need to prep the bay.
Take your time with this step. Engine bays are layered with grit and grime (and in our case – baked on yellowed paint) and you’re going to want things clean or the paint won’t stick. First we hit everything with brake cleaner – then a degreaser followed by a rinse from a pressure washer. Next – lacquer thinner. If applied with a little bit of elbow grease, and a scouring pad, the lacquer thinner will remove the grit, grime, and most of the paint. You’ll want to keep the factory primer – the spray paint adheres to it very well. Try a spot in a non-descript area first to get the hang of it, it’s easy to remove the grime and faded paint without disturbing the tough layer of factory primer.
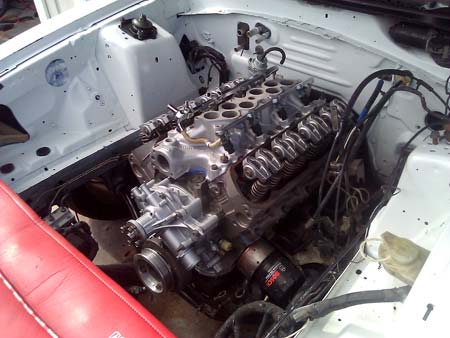
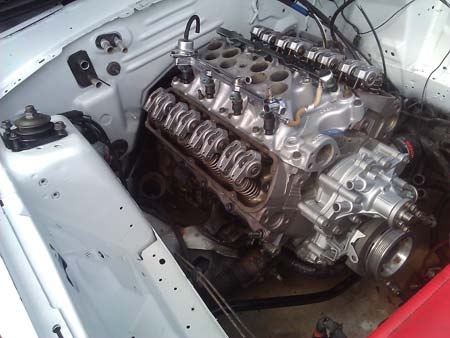
Electrical: While we’re in the wide-open engine bay –now is a great time to clean up, and re-wrap those wiring harnesses. For less than twenty bucks we were able to get an assortment of wire loom and a few rolls of electrical tape. Once again, take your time replacing old worn out looms and re-wrapping with the tape. Old wires are brittle too, and you don’t want to cause an electrical gremlin.


